How to create a coordinated entry assessment
Date Created: June 4, 2024 | Date Updated: June 25, 2025
What this is
Need help completing a Coordinated Entry Assessment? This article has you covered!
What you need to know
The Coordinated Entry (CE) assessment collects the information needed to prioritize clients for housing opportunities in your community. It also adds your client or household to your community's Prioritization List.
Follow these steps
Start in the Coordinated Entry Assessors Workgroup and Organization for your CoC’s Coordinated Entry.
The CE organization is where your CoC's CE takes place. It is different from your "home" organization. you will select your organizations CE project at enrollment. Click here to see a list of programs and their owning organizations.
Exception: Ramsey CAHS (Family Coordinated Entry) assessors must use the "Catholic Charities Twin Cities - Ramsey Coordinated Entry Projects" Organization
Start the CE Workflow
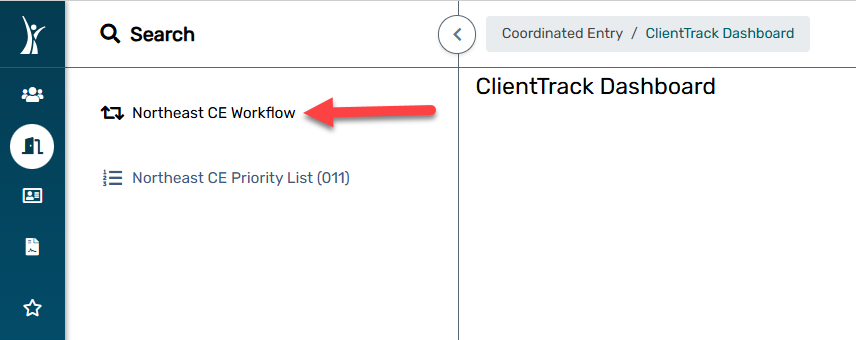
- Go to the Coordinated Entry (CE) workspace in the left-hand menu of the screen:

- Select the CE Workflow for your CoC.
- Click on Search for a client to first attempt to find an existing record in the system. Review this article for more information on searching for clients in HMIS.

- If you cannot locate a record after a thorough search, select Add a new client. Review this article for more information on creating a new client record.
- Review the family members and add as needed. For more information on Family Members, check out this article.
- On the Program Enrollment screen,
- Select your organization's CE project from the project list.
- Select the family members that should actually be a part of this project enrollment.
- Click Save.
- Continue forward through all the forms that are presented to you.
-
On the Triage Assessment, make sure to select Placed on Prioritization List for Prioritization Status. Check out this article for more information.

-
You will keep going, responding to the questions presented to you across the set of forms for your CoC:


You can click the Default Last Assessment button on each form to see if previously entered data pulls into it. Then, you can simply review/update that existing data, as needed.

- Once you have completed all the information, you should click FINISH.
When you are done
To check your client is on the Priority List, go to the client record. You should see the CE enrollment you just completed.