How to create a client from the Coordinated Entry Workspace
Date Created: June 25, 2024| Date Updated: June 9, 2025
What this is
If creating a new client from the Clients Workspace, use the instructions linked here.
This article explains how to create a new client record in HMIS by completing the Basic Client Demographics, Contact Information, and Family Information sections.
What you need to know
In the Coordinated Entry Workspace, you should only be adding a client to the system when you are completing an Intake and Enrollment into your program.
🚨Avoid Duplicates: Search HMIS thoroughly before creating a new client. See Searching For a Client for details.
Follow these steps
-
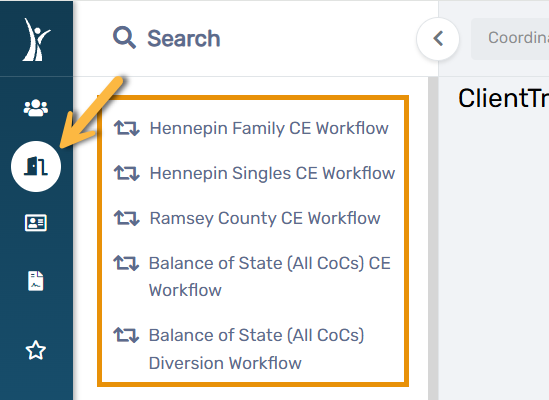
From the Coordinated Entry Workspace, select your applicable workflow:
- Click on Search for a client.


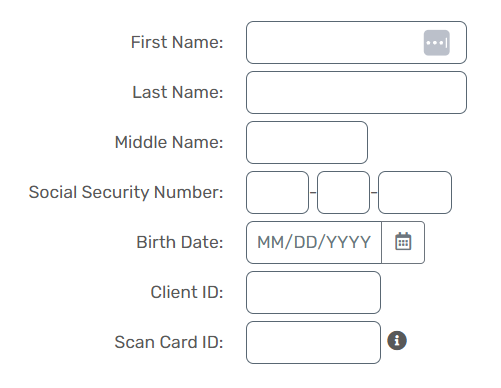
- Complete a thorough search of the system for an existing client record. See Searching for a Client for details.
- Search for your client to make sure they are not already in HMIS
- Review the search results. If your client does not appear, then click Create New Client
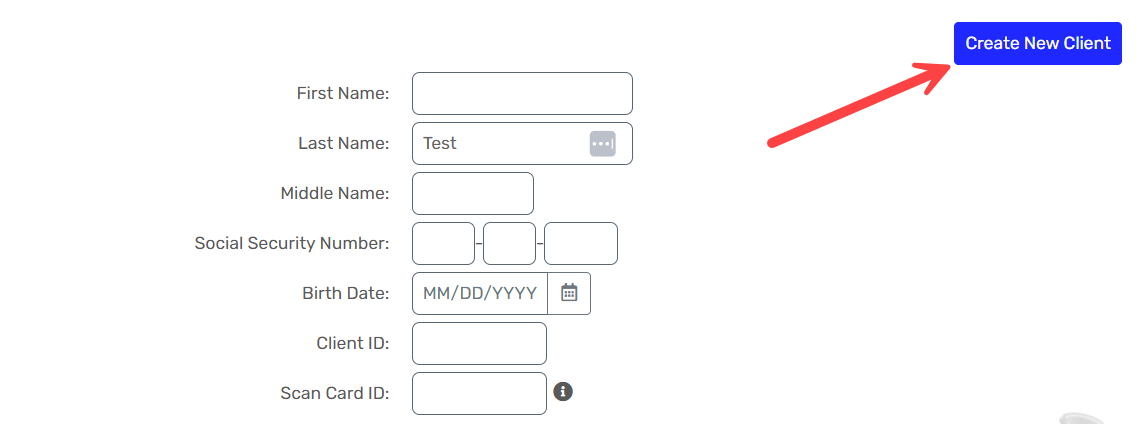
🚨Warning: Skipping the client search may create duplicate records!
- Next, complete the Basic Client Information section. Any fields with a red asterisk are required and must be filled out to proceed.
Name Quality and Social Security Number Quality allow you to indicate if a client doesn't know or declines to answer.
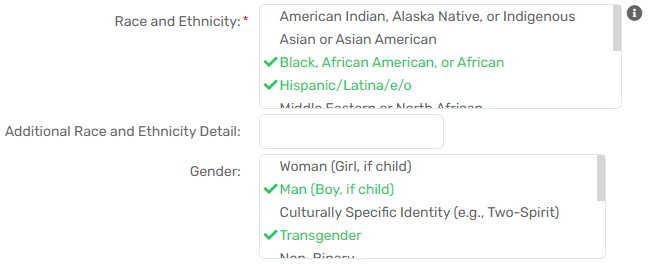
- Complete the Basic Demographics section. You can select multiple answers:
- Fill out your client's Contact Information:

In Minnesota’s HMIS, you should never create anonymous client records. Even if a client does not agree to share their information statewide, you still need to create a client record using their real identifying information, such as their name and Social Security number.
- In Family Information, you can optionally link the client to an existing family using the Family lookup
- If completing for an individual, select Relationship to HoH as Self

- Next, document the client's data sharing preference indicated in their Release of Information