How to run a report in HMIS?
Date Created: June 3, 2026
What this is
What you need to know
Before you start, make sure you
- Have an active ClientTrack (MN HMIS) account
- Are logged into the correct workgroup and organization for the project(s) you want to run the report for.
Steps to Run a Report
-
Find the report you want to run - Most reports are located in the Report Workspace, organized into one of the sub-folders.
- HUD/HMIS Reports - These are reports built by our vendor specially for federally funded projects. Examples include the APR for HUD CoC projects and the CAPER for HUD ESG projects.
- Case Management & Goals - Reports used for programs that utilize case manager and goal features in HMIS
- Service & Referral Reports - reports looking at referrals and service data
- MN General Reports - These reports pull a variety of data and outcomes not specific to a funding source or grant.
- MN State Program Reports - These are state program specific reports such as the FHPAP Supplements used to report outcomes to MN Housing for FHPAP and HSWH funded projects.
- MN Coordinated Entry - These reports are used for monitoring a CoC's coordinated entry system.

Depending on your role and what community your agency serves you might see additional folders and reports.
- Complete the report filters - Each report has a report launch page with instructions on what each report is and how to complete the report filters. To display the report instructions, click on the checkbox next to Show Report Instructions.

If a filter is bold with a red *, that means it is required in order to run the report.
Pro Tip! Always complete reports filters starting from the top down. What options display in the filter is dependent on the how the previous filter was completed.
- Run the report - Depending on the report, you will see some options for running your report.
- Run Export - Generally you will see this option for reports that needs to be upload to an external data exchange for federal reporting like SAGE for COC and ESG funding or PDX for PATH. If you run an export, your request will go into a report queue and processed in the order it was added.
When running an export, uncheck the Encrypt Export option and check the box next to the "I assume the full responsibility...". Then click Done.

- Report - This option runs the report immediately and is best used for smaller reports or data sets. Once you click Run, a box will pop up in the right hand corner of your screen letting you know the report is running.

- Schedule Report - This option allows you to schedule a report to be ran now or at a later time. Scheduled reports get added to the report queue and once complete you will be notified by email.
When using this option a box will pop up allowing you to choose what format you want to run the report and when you want it to run. You can also rename the report here if you would like.

- View or Download the report - How you choose to run the report will determine where you access and download it.
- Exports - These reports show up in the Files on Server. Click on the report you want to download and a box will pop up allowing you to download the file.

- Report button - A box will pop up in the right hand corner of you screen letting you know your report is ready. Click on the pop up and it will open your report. From there you can view the report and save it.


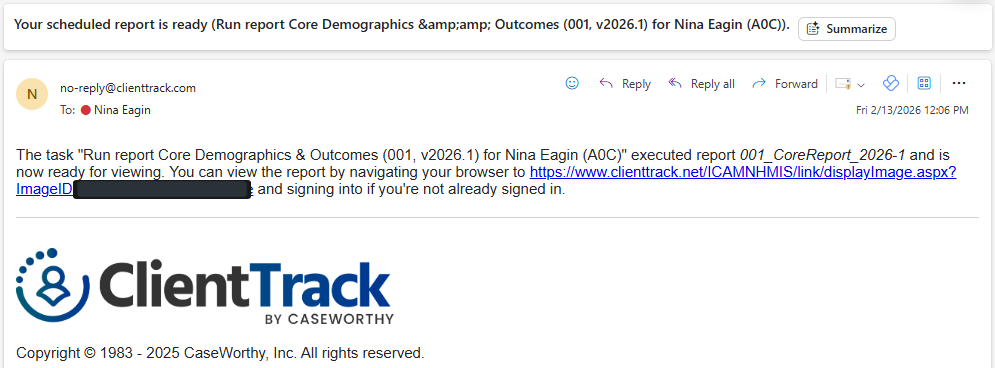
- Schedule Report - Once a scheduled report is complete, you will receive and email with a link to download the report.
Common Issues
I want to access I report I ran recently?
My Saved Reports, allows you to re-open and save reports (non-exports) you ran or scheduled previous.
The top section has reports ran in the last 10 days. To view a report, click on the blue date.

To view a previously scheduled report, scroll down to the bottom section and click on the search icon to the left of the report and a download box will pop up.

Why is there no data in my report?
There are a couple of reason why this could be happening:
- None of the data in your project(s) fit the report criteria. Try re-running the report with less filters selected.
- Opening the report before it finished running. Wait to open a report until you either receive an email for a scheduled report or see the Report is Ready pop up in the right hand corner of the screen.
Why am I getting an error when I try to run my report?
The most common reason for report errors is timing out. This happens when you run a complex report or a report with a large data schedule. Try scheduling the report instead.
Can’t find a report?
We have a report directory that lists all of the reports in HMIS and where they are located.
